The process of building a pool can be a tedious one, but here at Pools by Bradley we promise to do our very best to keep you informed of our progress and to deliver you a pool as fast as possible without compromising quality. Below you will see the 15 steps involved in our process for building your new pool from start to finish. Don’t forget to check out the gallery of pictures at the bottom of the page and take a look at our Time Frame Expectations Flyer (PDF)!
Step 1: Project Design and Approval
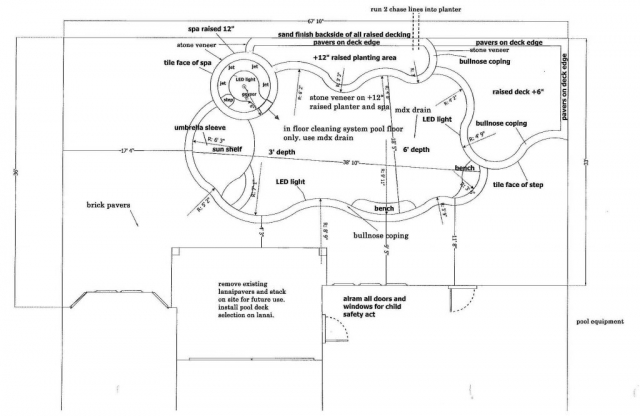
The first step in the construction process is an initial meeting between the client and one of our trained design consultants. During this meeting, our design consultant will find out what you, as the client, are looking for in the overall pool design. All of our pools are designed specifically for each individual customer. The technician will then take a detailed survey of the proposed area to include home and lot dimensions, positioning, building setbacks, location of utilities, and accessibility to the construction site. Within a few days, our design consultant will have a fully prepared plan and proposed construction cost for the pool organized for you to review.
Step 2: Permitting and Engineering
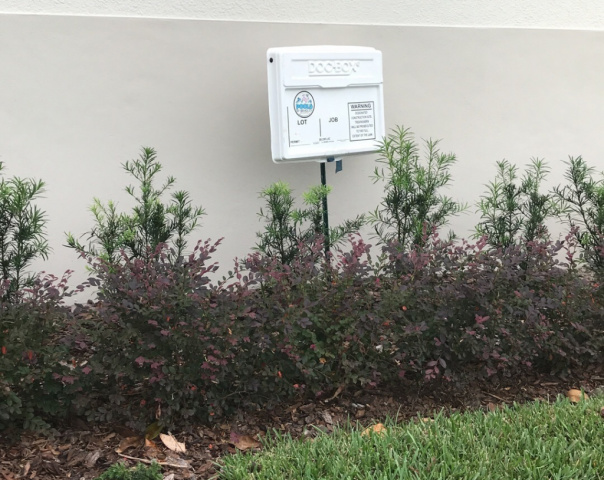
We will acquire the permit for the construction of the pool and decking. Permits gas utility hook-ups shall be obtained by the person contracted to do said work. All plans must comply with local and state building codes. We will call Sunshine Locators in order to locate all existing utility lines before the beginning of construction. We will call for all applicable inspections, including footer, plumbing, and electrical bonding.
Step 3: Layout
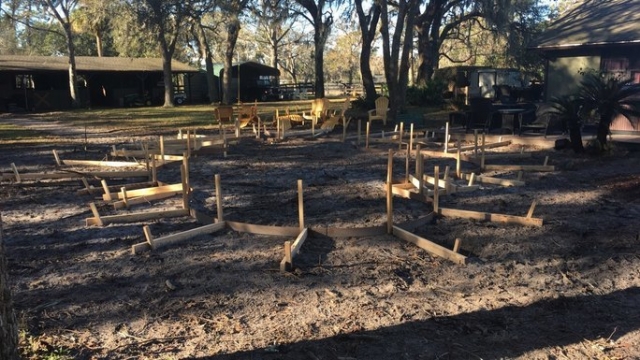
When the plans have been approved by you and all necessary permits have been obtained, the construction process may begin. Our construction department will meet with you onsite to go over the construction stages with you and help you to understand the pool building process. Next, the form boards are set with great care to ensure the pool is in the exact location required.
Step 4: Excavation
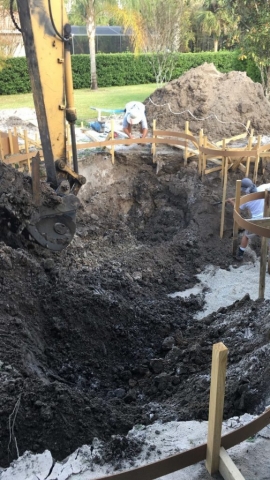
This is when it starts to get exciting!! After the forms are set, the excavation of the pool may begin.
Step 5: Structural Steel
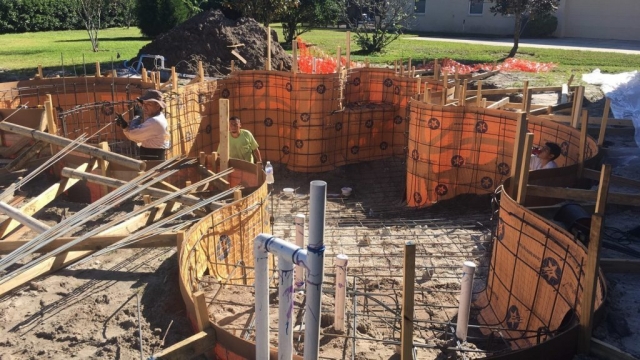
The pool shell is reinforced with Grade 60 #3 steel rebar, placed horizontally and vertically. This is all done by hand and after it is completely steeled then a steel and ground inspection is called into the municipality.
Step 6: Rough Plumb
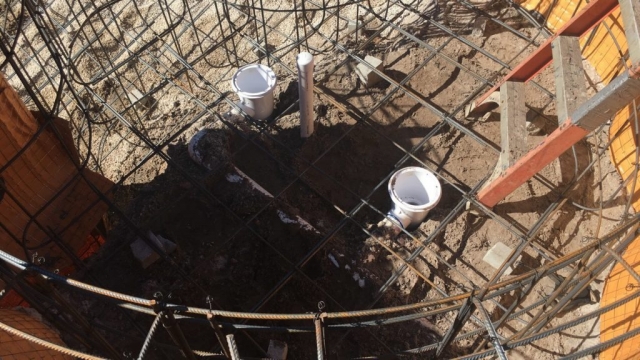
Rough plumbing, or “stub out” is done immediately following steel installation. This entails the installation of main drains, skimmers, light niches, return line “stubs” and pre-plumbing of raised spas.
Step 7: Gunite
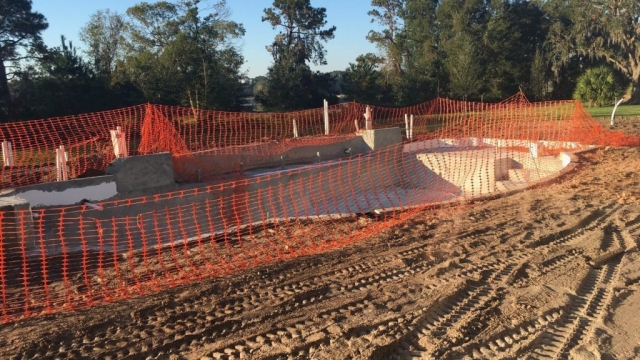
The pool floor consists of concrete with a compressive strength of 4000 psi. The walls of the pool consist of a mixture of sand and cement (gunite) that is applied through a hose with highly pressurized air to achieve a compressive strength of 4000 psi. Because of its superior structural strength, we like to refer to our shells as bomb shelters.
Step 8: Plumbing
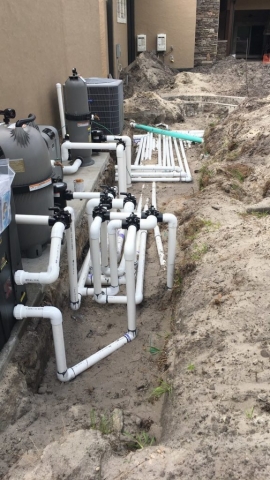
The plumbing for each pool is designed specifically to give it the best circulation and filtration for crystal clear water and ease of maintenance. We perform hydraulic calculations to ensure that all equipment and piping are of the correct size to combine water clarity and energy conservation.
Step 9: Tile
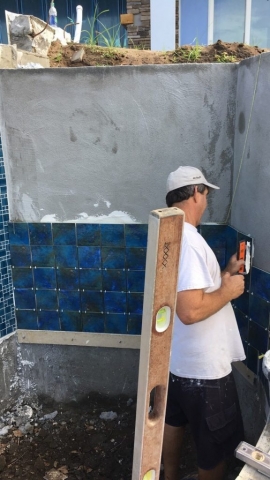
After the completion of the gunite phase, your tile will be added. We have a selection of 100’s different tiles for you to choose from. No matter what colors, textures and materials are being used for the project, we will have something to fit your taste.
Step 10: Equipment Set
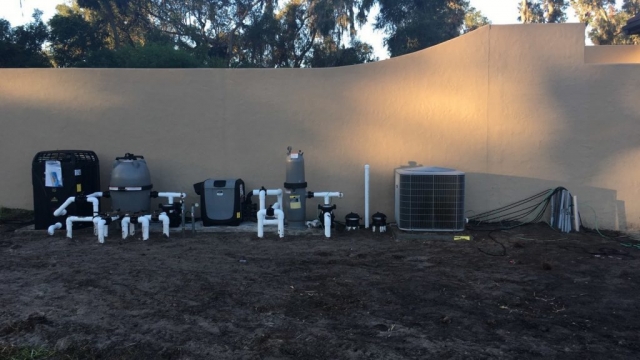
An experienced plumber will come to the site and plumb in all of the filtration equipment for the pool, including water feature pumps and other optional equipment from Zodiac.
Step 11: Electric
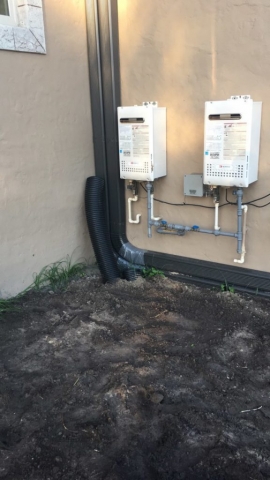
By this point, electrical conduits for pool lights and for pool equipment power should be run. The breaker box at the location of the pool equipment should be installed and ready for the equipment to be set. Gas lines to the pool heater or heaters should also be run to the equipment location (please check with your field superintendent for direction on how, where, and when your gas lines should be installed.
Step 12: Deck
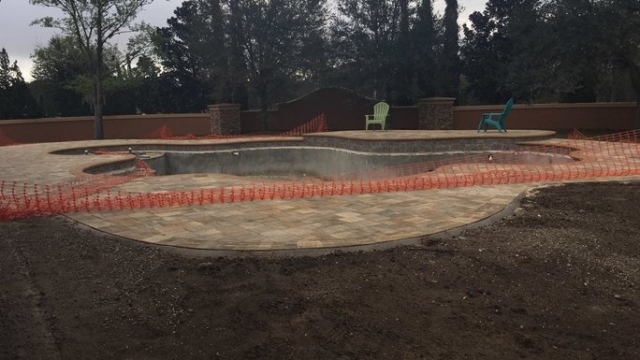
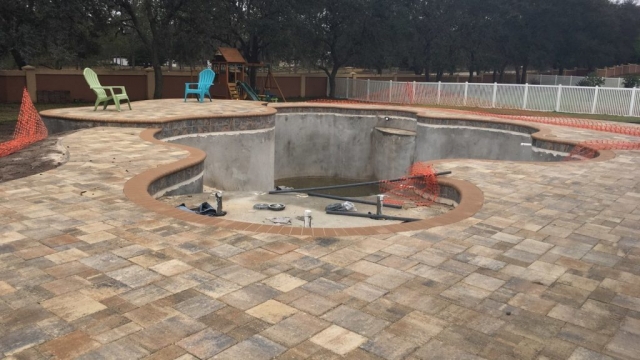
The pool deck should reflect the overall theme for the project, including color, pattern and design. We offer 100’s of decking and coping materials and once the deck goes down you are on the home stretch! You’ll be swimming soon!
Step 13: Site Clean Up
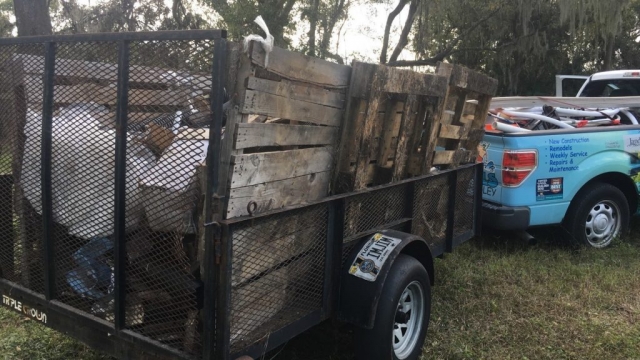
At this point, the project is nearing completion. We will now remove all extraneous construction materials and waste from the construction site and prepare the pool interior to be finished.
Step 14: Pool Interior
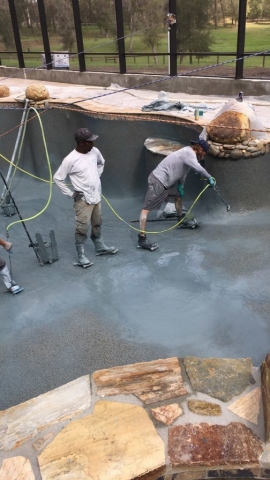
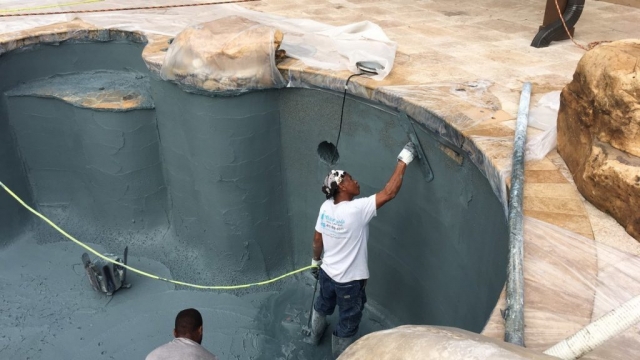
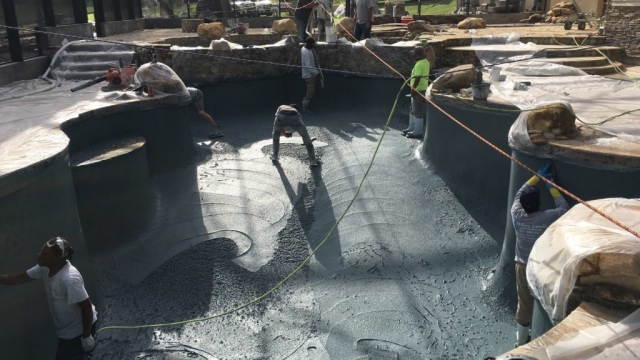
The pool interior is coated with your choice of materials, from a standard finish or you can select one of the many Wet Edge finishes. Different finishes render different effects and moods on the pool water and therefore the overall appearance of the backyard area. When the coating is finished, we begin filling the pool with water. This should be the final stage of construction.
Step 15: Fire Up and Orientation
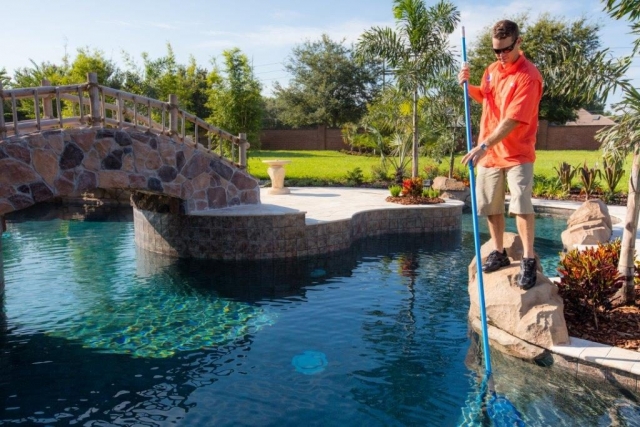
Once full, a service tech will come out to your home to check the installation and start all pool and/or spa equipment. Once the equipment has been started up and the pool is fully operational, our service tech will set up a time to come to your home and show you maintenance operations. This includes everything you will need to know about routine maintenance on the pool and some troubleshooting tips. If you do have questions or require technical support, our trained personnel are only a phone call away.
Pool Build Time Lapse from Start to Finish

Woo!! Hoo!! Time to swim and get the plans made for your first pool party!!


